When working with satellite imagery, it’s helpful to keep track of specific regions you return to often. In this tutorial, we’ll show you how to save an area of interest on the SkyFi platform. This feature allows you to mark and store locations that matter to your work or research, so you can access them without having to search again. Whether you’re monitoring land use, checking construction progress, or setting up regular image orders, saving an area of interest helps you stay organized. The process is simple and can be completed in just a few steps. Once saved, your areas of interest will be available in your account for future use. Follow the steps below to learn how to save an area of interest and keep your projects on track.
1. Accessing the Platform
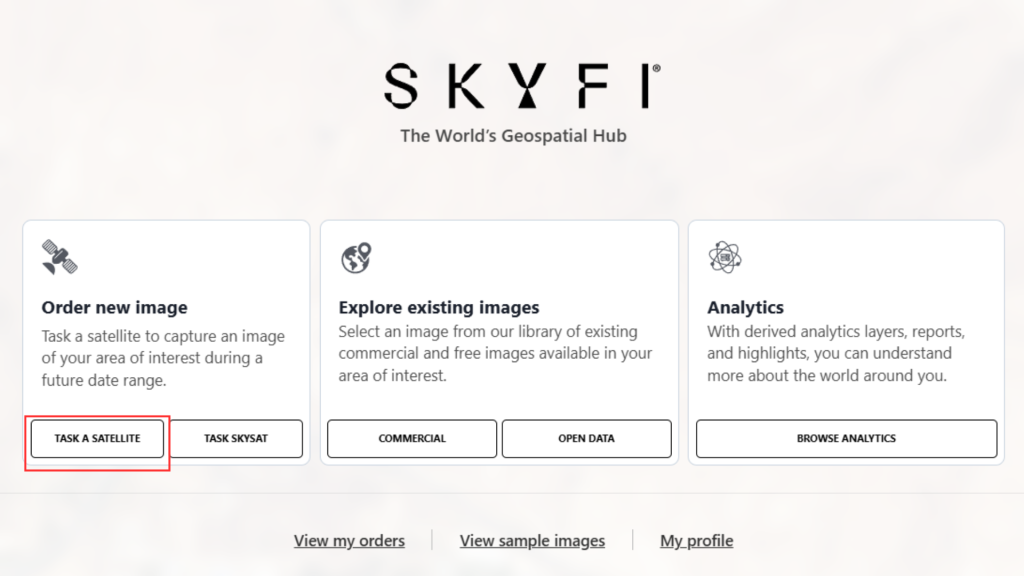
On the Welcome Screen, begin by selecting “Order New Image.” (task a satellite)
2. Selecting the Area of Interest
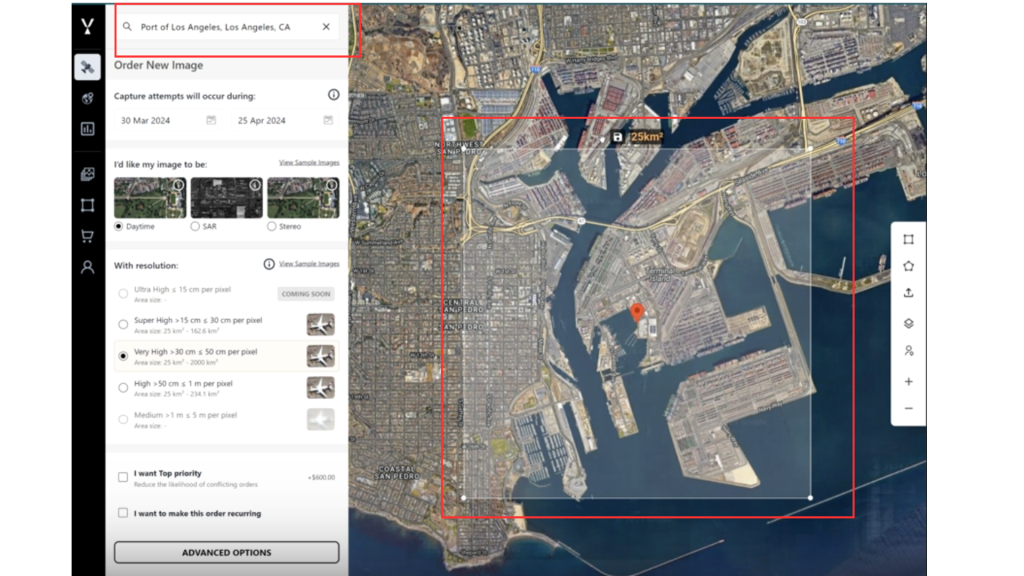
- Search and navigate to your desired location on the map.
- Define the specific area of interest (AOI) by placing or adjusting the selection box.
3. Saving the AOI
- Once the AOI is selected, click the “Save This Area” button.
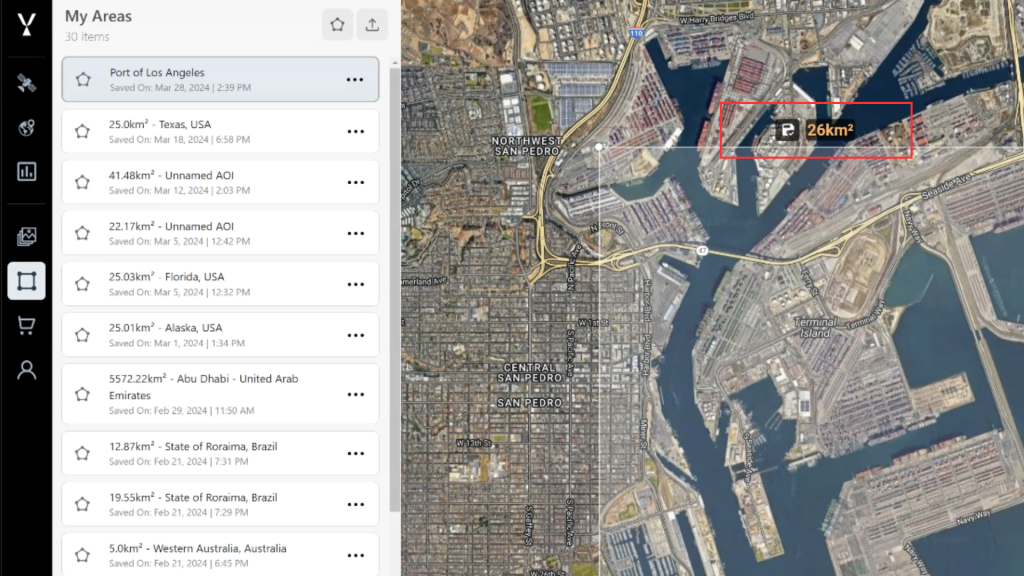
- The AOI is now saved.
4. Accessing Saved AOIs
- There are two ways to access saved AOIs:
- Use the menu panel and select “My Areas.”
- Alternatively, you can click on the pop up : ” Go to My Areas.”
- The saved AOI will appear in the list.
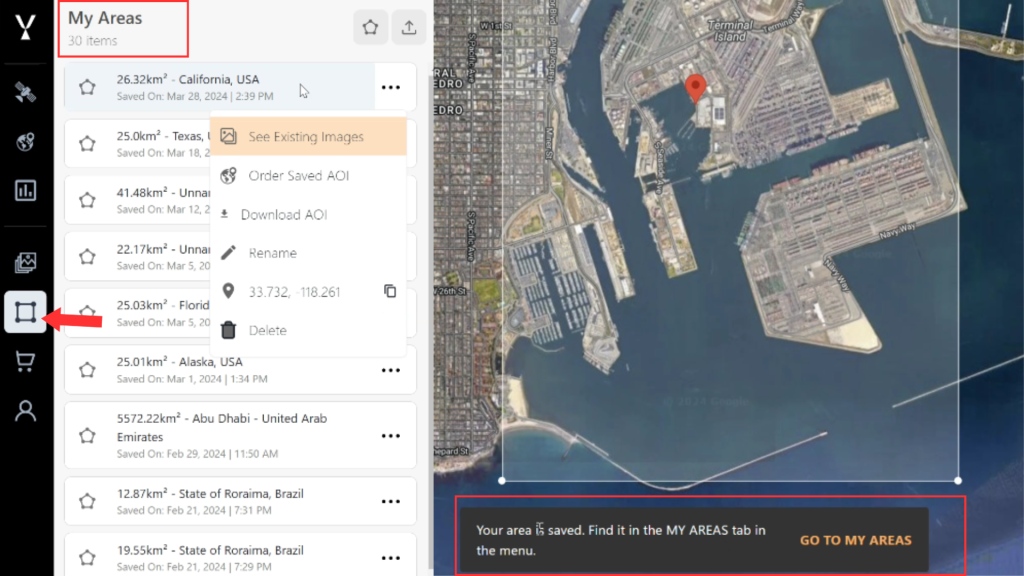
5. Renaming the AOI
- To rename a saved AOI:
- Click the menu icon (three dots) next to the AOI name.
- Select “Rename” from the dropdown menu.
- Enter the new name and confirm.

6. Using Saved AOIs
You can click on a saved AOI at any time to:
- Return directly to that location on the map.
- View any existing images for that area.
- Order a new image for the same area.

Try it now at app.skyfi.com